


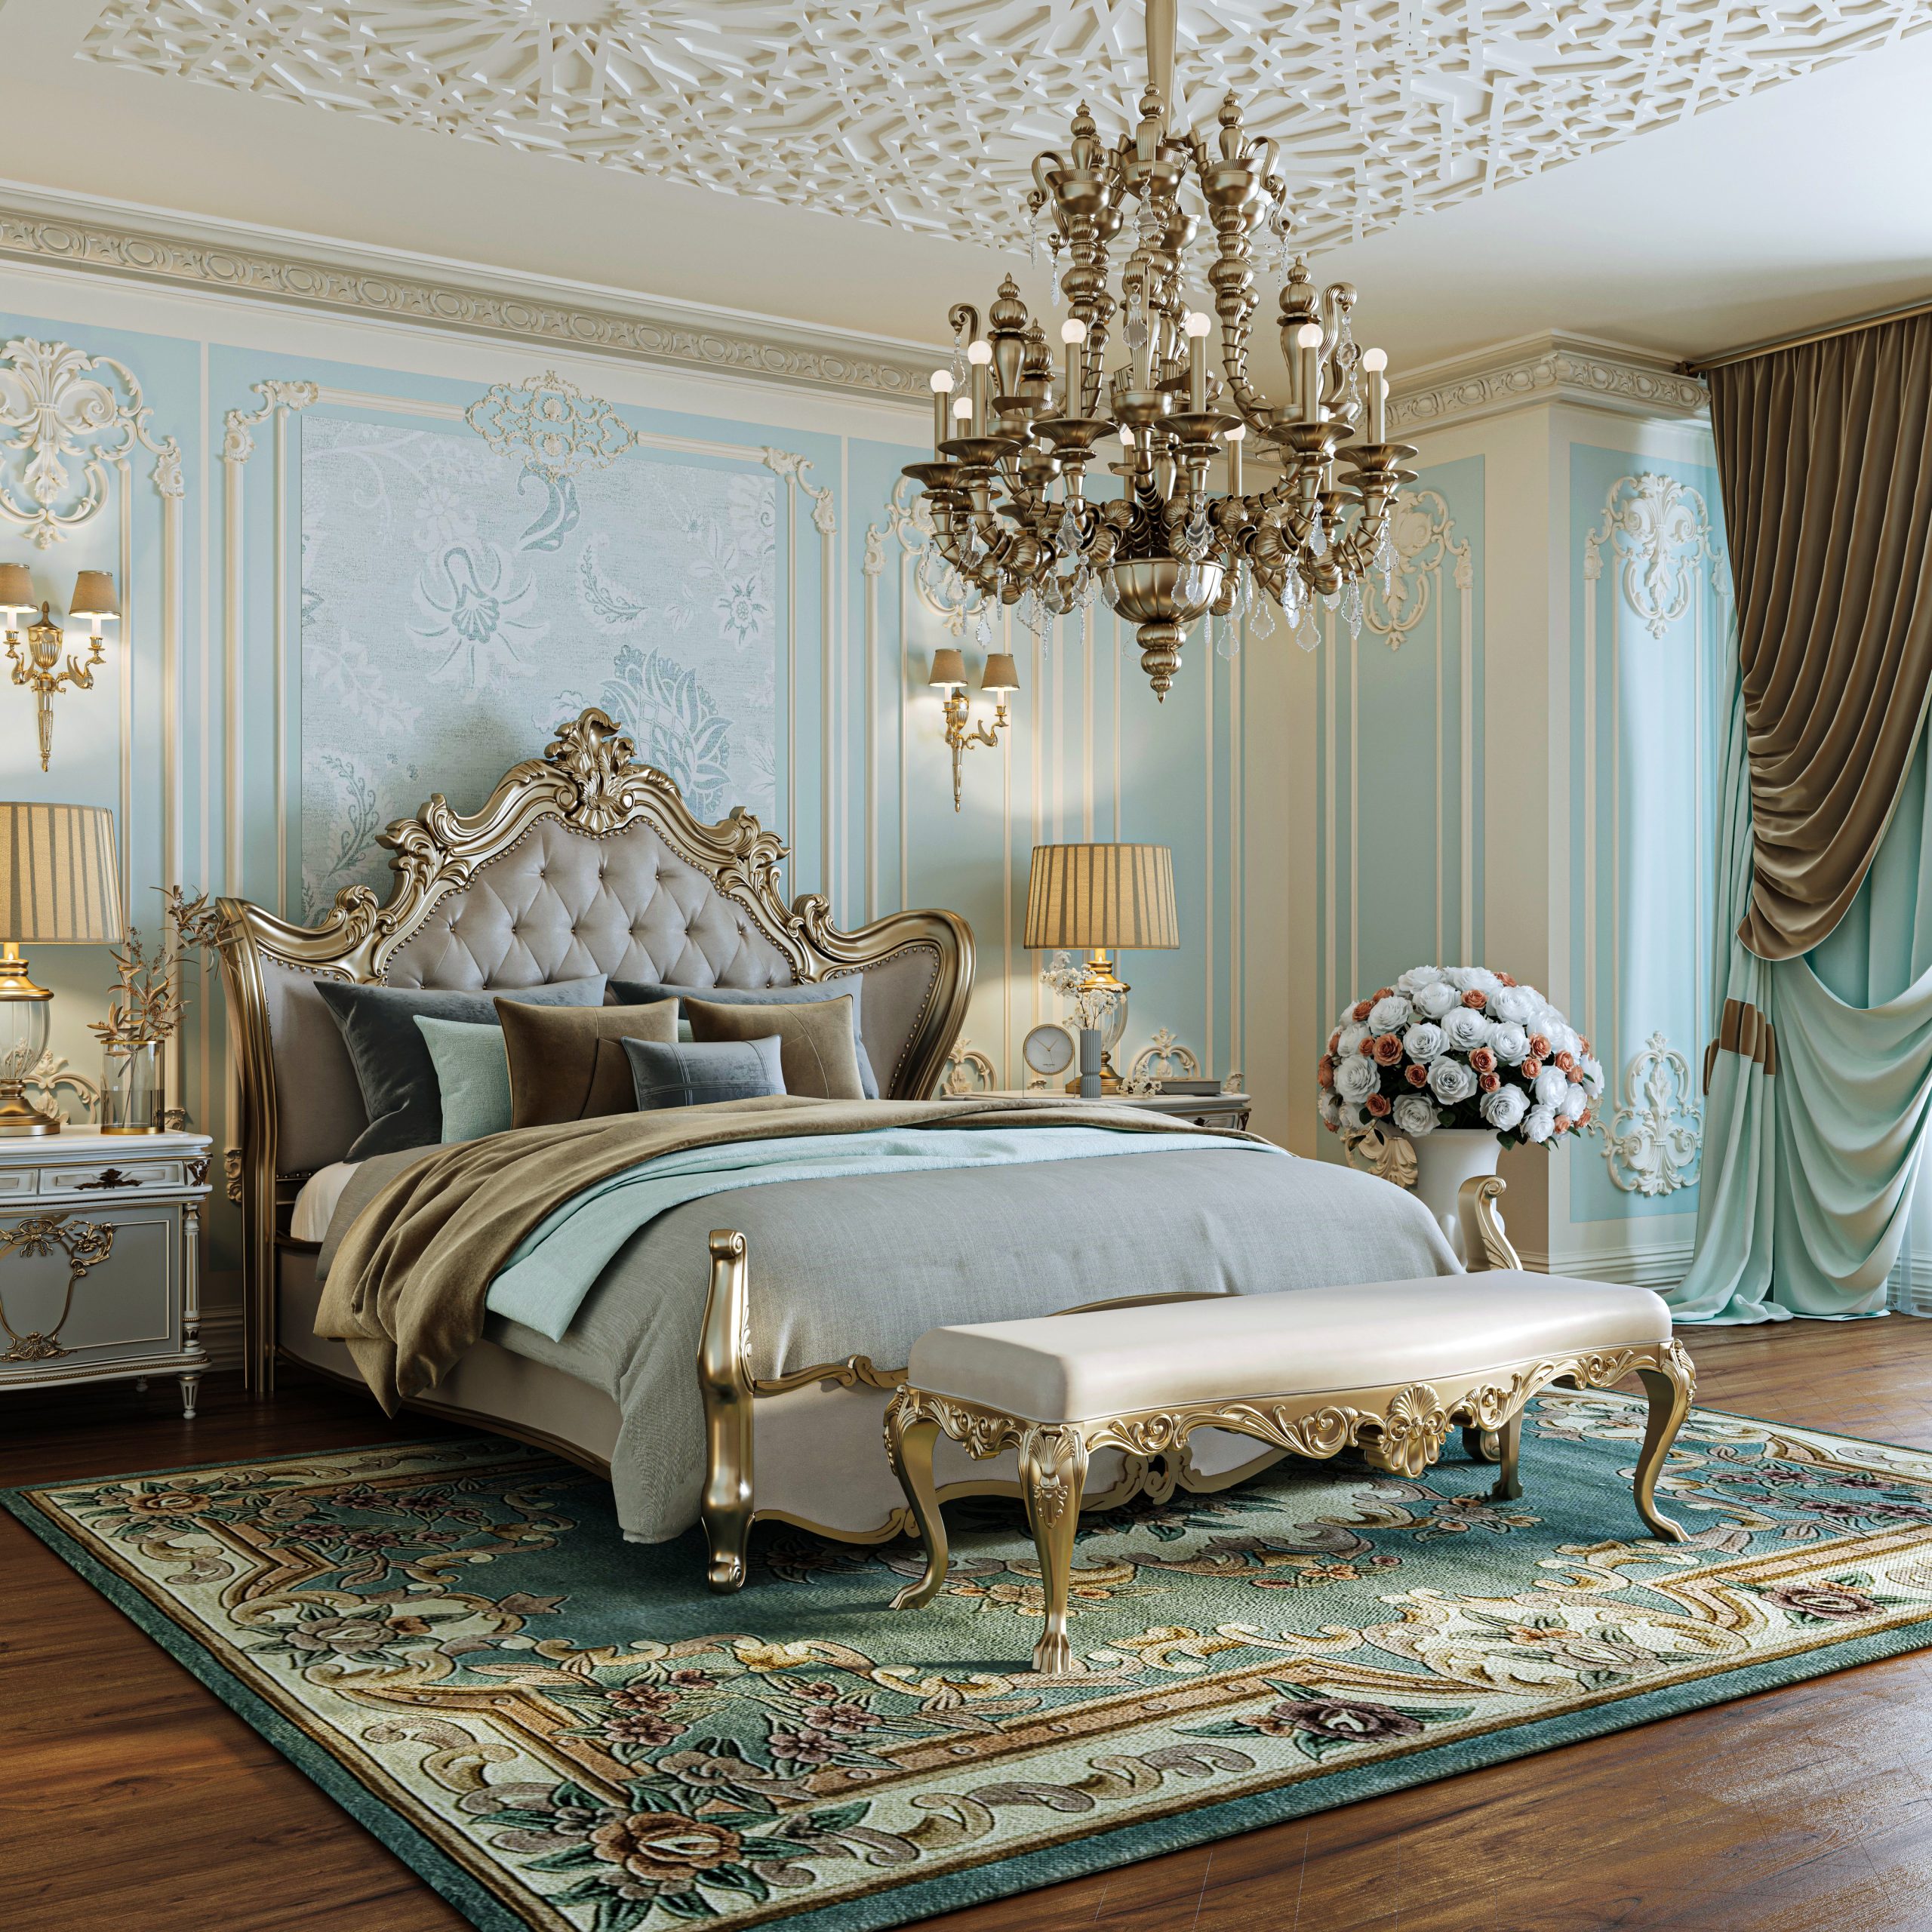
You can have the most detailed 3D model in the world, but if your lighting is flat or artificial, the illusion of realism will break immediately. Light dictates how we perceive depth, shape, and material quality.
In this guide, we break down the fundamental lighting setups used by professional 3D artists to achieve photorealism.
1. The Three-Point Lighting Setup
Originating from traditional photography, three-point lighting is the standard for product rendering:
- Key Light: The primary light source that defines the shape and details of the model.
- Fill Light: A softer light placed opposite the key light to soften harsh shadows.
- Rim Light: Placed behind the subject to create a highlight along the edges, separating it from the background.
2. High Dynamic Range Images (HDRI)
Using HDRIs allows artists to wrap their scenes in real-world environments. This provides natural, complex reflections and ambient lighting that matches a specific location, whether it’s a studio, a modern office, or an outdoor landscape.